Hardware is the least expensive decision in a kitchen and the one you will touch more than any other. Get it right and the cabinets look finished; get it wrong and every drawer pull feels like a splinter. The trouble is that most people shop for hardware the way they shop for jewelry: by how it looks in the case, then discover with a drill in hand that a twelve-inch bar pull does not belong on a nine-inch drawer front. This checklist walks through the decisions in the order they matter — size, style, finish, placement — so the hardware disappears into the kitchen instead of shouting over it.
Measure the Job Before You Shop
Start with a clipboard, not a showroom. Walk the kitchen and record every door and drawer front: width, height, thickness, and hinge side. Note how many pieces you need in each size. Two details trip people up. Inset doors sit flush inside the face frame and often need longer screws than overlay doors, so add long screws to the order. And drawer fronts vary more than you think — a six-inch spice drawer looks swamped by a large pull, while a thirty-inch pot drawer looks unfinished with a single small knob. Find those odd sizes now so you are not forcing a standard part onto them later.
Look at the room, too. If a deep pull faces a narrow walkway behind an island, it will catch pockets, apron strings, and belt loops. Measure the clearance between opposing runs before you fall in love with a three-inch projection.
Pick a Style You Can Live With for a Decade
Hardware should follow the cabinet door, not the other way around. These families cover most kitchens:
- Bar pulls. The default modern choice. Clean, easy to grip, and flattering on slab and shaker doors. Longer lengths read more contemporary.
- Cup and bin pulls. Classic farmhouse and cottage. Almost always used on drawers rather than doors. Mount them with the cup opening up so fingers hook the rim.
- Round or oval knobs. The most forgiving option in the catalog. A one-inch knob suits small drawers and glass doors; step up to 1¼ inches for larger doors.
- T-bars. A middle ground between a knob and a pull. Good on shaker doors when a full bar feels too sleek.
- Edge and finger pulls. Nothing protrudes, so they suit tight spaces and flat slab doors, but they require either a routed profile or a specific door design.
Then set one rule and keep it. Most kitchens use knobs on doors and pulls on drawers, or pulls everywhere for a more uniform modern look. Two shapes in one room is plenty; three starts to look like a display wall.
Decide on a Finish With a Plan
Finishes behave differently over time. Unlacquered brass darkens and develops patches where hands land most. Oil-rubbed bronze lightens at high-touch points. Polished chrome and gloss finishes show every fingerprint and water spot, matte black shows dust and flour, and brushed or satin finishes hide the most.
For metal mixing, the safe default is matching the cabinet hardware to the faucet. If you want contrast, limit the room to two metals and let one clearly dominate — brass hardware with a black faucet, for instance, rather than a three-metal standoff. Finish samples matter more than photos: take a cabinet door to the showroom or bring a sample pull home, because warm afternoon light flatters finishes that look flat and gray under store fluorescents.
Size the Hardware to the Front
These ranges work in most kitchens:
- Knobs: 1 to 1¼ inches in diameter for standard doors and small drawers.
- Upper cabinet doors: pulls of 3 to 5 inches center-to-center.
- Base cabinet and pantry doors: 5 to 12 inches, roughly one-third of the door width.
- Drawers 18 to 24 inches wide: one pull, 5 to 6 inches.
- Drawers wider than 24 inches: two pulls. Divide the front into thirds and center one pull on each outer third.
- Projection: keep pulls on cabinets facing a walkway to about 1¼ to 1½ inches.
Check the swing as well as the size. A long pull on a drawer beside a wall, a dishwasher panel, or a range can hit on the way out.
Place Door Hardware the Same Way Every Time
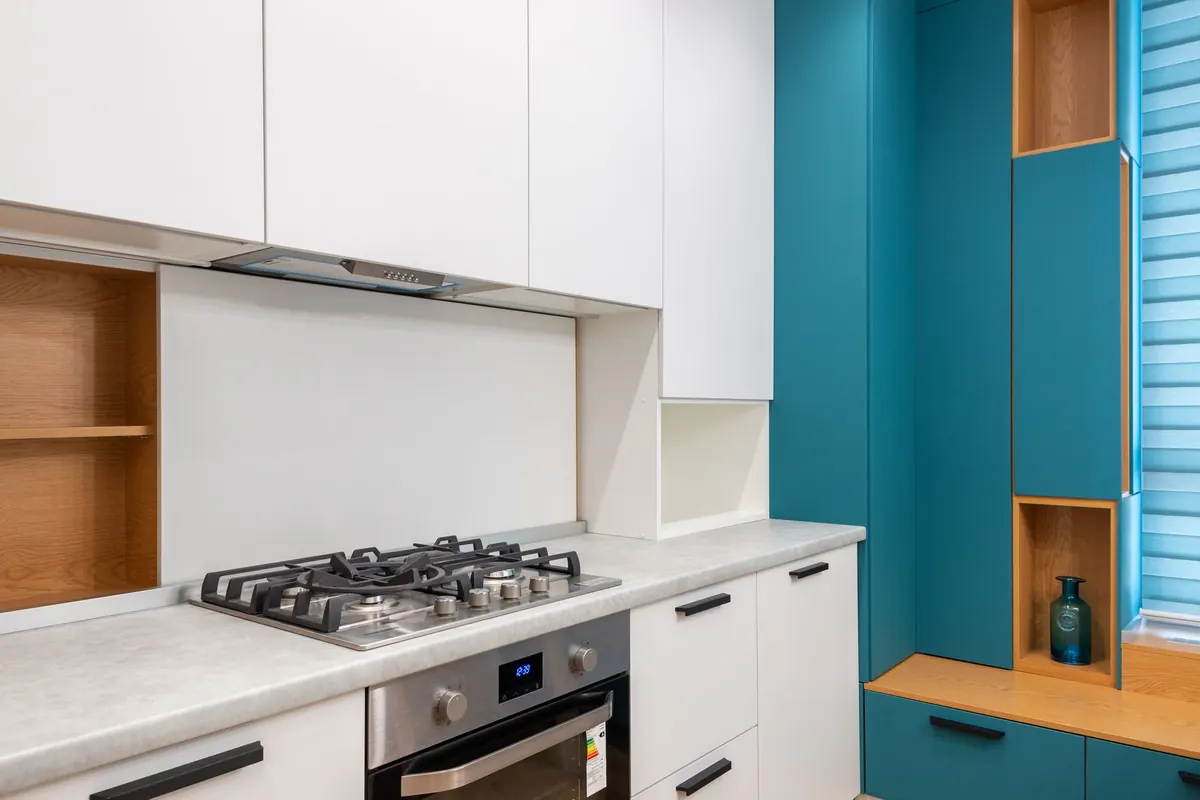
The rule is short: opposite the hinge, 2½ to 3 inches in from the opening edge. On upper doors that means the bottom corner. On base doors, the top corner. That single measurement keeps a whole kitchen looking deliberate, and it also puts the handle where your hand naturally arrives.
- Choose your reference dimension — 2½ inches is the safe default — and write it on a sticky note.
- Mark each position with painter's tape, then step back and check the pattern across the entire run before drilling anything.
- Make a simple jig from a scrap of plywood with one hole drilled through it for consistent repeats.
- Drill from the face side to avoid tear-out, using a bit matched to the screw — 3/16 inch for typical #8-32 hardware.
- Install one door, close it, and open it against its neighbor to check for clashing hardware, then carry on.
For vertical pulls, the convention is consistent: on base doors the top of the pull sits about 1½ to 2 inches below the top edge, running down the opening side; on upper doors the pull runs up from the bottom corner. On a corner cabinet with two doors meeting at an angle, keep the hardware on the outer opening edges so you are not reaching past one door to open the other.
Place Drawer Hardware on the Visible Face
Center a single pull both horizontally and vertically on the drawer face — the face, not the box, since overlay fronts are often offset from the drawer box behind them. With two pulls, use the thirds rule from above. On stacked drawers of different heights, reference the same distance from the top edge of each front rather than centering on each one; centering drifts and the row of hardware stops reading as a row. Cup pulls benefit from the same top-edge reference so the cups line up.
Then test one. Load your heaviest drawer, open it with two fingers, and see whether the front twists. A small knob on a wide drawer will flex the box; two pulls or a longer bar will not.
Final Checks Before You Drill
The last pass is the cheap insurance:
- Count every piece
Photo: Max Vakhtbovych / Pexels