It is 7 p.m., the ceiling fixture is blazing, and the counter where you are trying to trim chicken is still in shadow. That is the moment most people start thinking about cabinet lighting — not as decoration, but as a fix. Two options come up again and again: under-cabinet lighting and over-cabinet lighting. They solve different problems, sit in different places, and ask for different amounts of money and effort. Here is how to tell which one your kitchen needs.
What Under-Cabinet Lighting Does
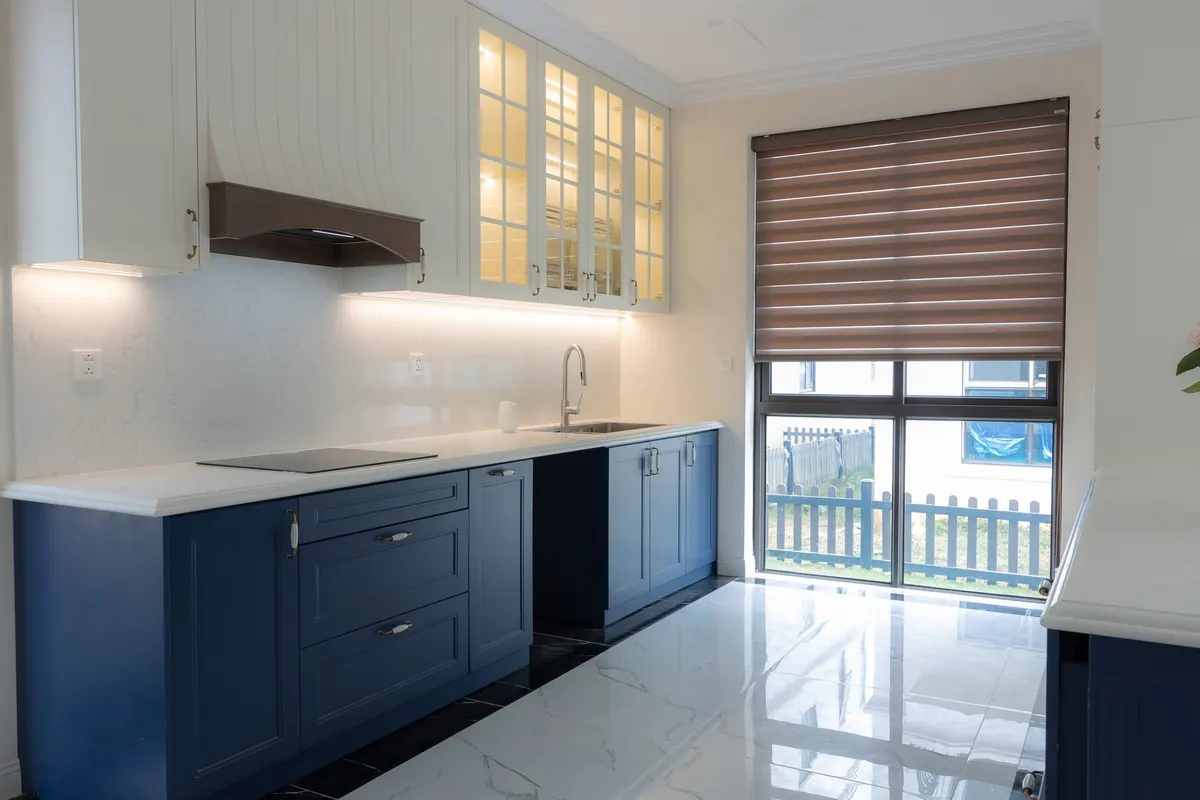
Under-cabinet lights mount to the underside of your upper cabinets and throw light straight down onto the work surface. This is task lighting, and it changes how the kitchen functions. You can see the onion you are dicing. The blade casts far less of a shadow. The recipe card on the counter becomes readable.
Most kitchens use one of three formats:
- LED tape in a slim aluminum channel, which gives an even, continuous line of light with almost no visible hardware.
- Puck lights, small round fixtures that suit cabinets with a lip or molding that can hide them.
- Linear bars, rigid fixtures that read as a clean architectural line and are simple to replace later.
Color temperature matters more than people expect. Around 2700K to 3000K blends with warm wood and feels residential; 3500K to 4000K makes white quartz look crisp and is easier on the eyes for close work. Whatever you pick, get a dimmer. Full brightness at 11 p.m. is unpleasant.
What Over-Cabinet Lighting Does
Over-cabinet lighting sits on top of your upper cabinets and aims up at the ceiling. It is ambient and decorative rather than functional. Because you never see the source, it reads as a soft wash of light that makes the ceiling feel higher and the room feel finished after dark.
This only works if there is somewhere for the light to go. A gap of roughly a foot or more between the cabinet top and the ceiling gives it room to spread. If your uppers run tight to the ceiling, or a deep soffit sits above them, uplighting produces either a harsh hot spot or nothing worth looking at. And do not expect it to help you cook. Light bouncing off a white ceiling is diffuse and weak by the time it reaches a countertop, so it adds atmosphere, not visibility.
Placement: Where the Light Actually Lands
Position decides whether a good fixture looks good.
Under-cabinet placement
Set the fixture toward the front third of the cabinet underside, closer to the room than to the wall. This pushes light onto the front half of the counter, where your hands and cutting board are, and it keeps the strip from glaring off a glossy backsplash. Running it tight against the wall seems logical and usually backfires: you get a bright splash on the tile, a counter still in shadow, and scalloped arcs of light across the backsplash where widely spaced pucks shine upward.
Over-cabinet placement
Set the run slightly back from the front edge so the fixture stays hidden when you stand across the room, then aim it up and gently toward the center of the ceiling rather than straight into a narrow gap. If the gap is shallow, use a narrower beam or put that part of the budget into under-cabinet lighting instead.
Cost and Effort
Both options come in plug-in kits and hardwired versions, and the difference between them is mostly labor.
Under-cabinet lighting usually needs more fixtures and more planning: a driver or transformer, a way to get power into the cabinet run, and a switch that makes sense at the doorway. If you want a wall dimmer instead of a remote, an electrician has to open walls, and you may be patching and repainting afterward. Plug-in versions cost far less and can go in during an afternoon, but the cord has to go somewhere, and a visible cord along a backsplash looks exactly as cheap as it is.
Over-cabinet lighting is often the simpler job. The top of the cabinet is open and reachable, and a single run of tape or a few pucks can cover a long stretch. The catch is power: there is rarely an outlet above the cabinets, so you either bring a circuit up there or hide a plug-in cord behind the cabinet backs. For anything involving new wiring, hire a licensed electrician and check your local requirements first.
Installation Steps That Save Rework
- Decide the switch location first. Where you will reach for it every evening determines where the wiring runs.
- Measure the run, then add a little. LED tape is sold in fixed lengths, and short runs leave dark gaps at the corners.
- Plan the driver. Transformers need ventilation and access — never bury one behind a cabinet you cannot move.
- Test before you stick. Dry-fit the tape or pucks, switch them on, and check for shadows and glare before the adhesive is committed.
- Clean the surface. LED tape does not stick to a dusty or greasy cabinet underside, and it will peel within weeks if you skip this.
Choosing Between Them
- Choose under-cabinet if your counters are dark, your ceiling fixture casts shadows, or you cook most evenings. It is the one that pays you back daily.
- Choose over-cabinet if the counters are already well lit but the room feels flat and dim above eye level. It is a mood upgrade, not a work upgrade.
- Choose both if you are renovating with walls open. Running two circuits now costs a fraction of doing it later.
If the budget only stretches to one, put the light where your hands are.
A Practical Way to Decide
Stand in your kitchen tonight with the main light on and a cutting board in front of you. If you cannot clearly see the board, your problem is task lighting — start under the cabinets. If the counters are fine but the space above them turns into a dim cave, your problem is ambient — go over the top. And if you are already opening walls for a remodel, do both and put them on separate dimmers, so a bright dinner-prep kitchen at six can become a soft, low-lit room at ten.
One last habit worth adopting: live with the new lights for a week before you finalize trim and caulk. A few evenings of real cooking will tell you more about a lighting layout than any showroom display ever will.
Photo: HONG SON / Pexels